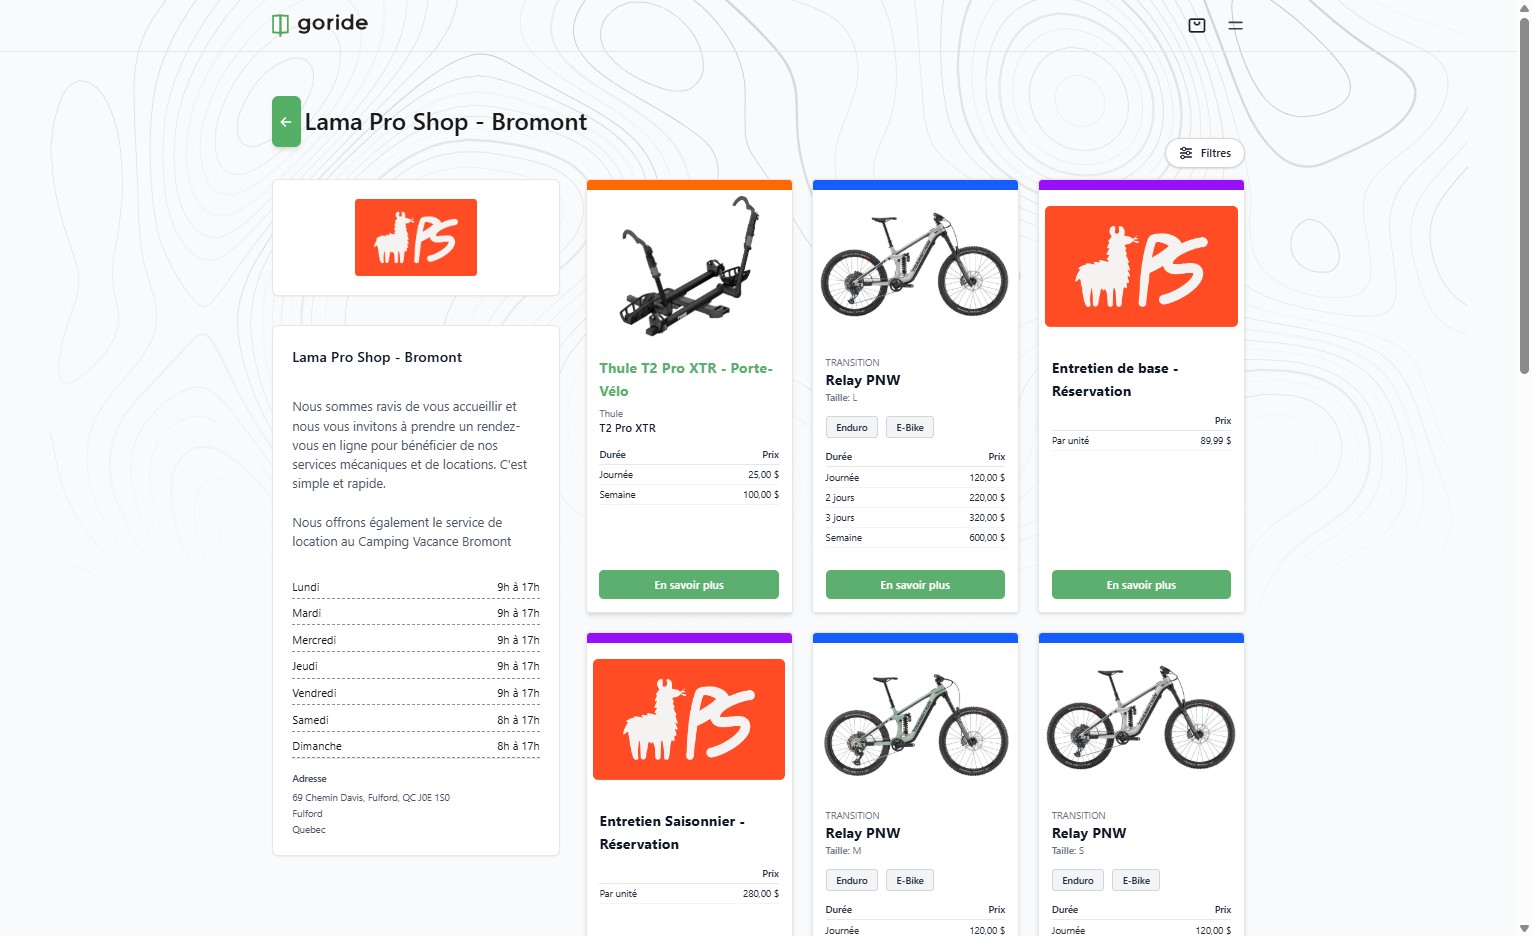
Step 1 — Navigate to Your Dashboard
Go to your GoRide merchant dashboard.
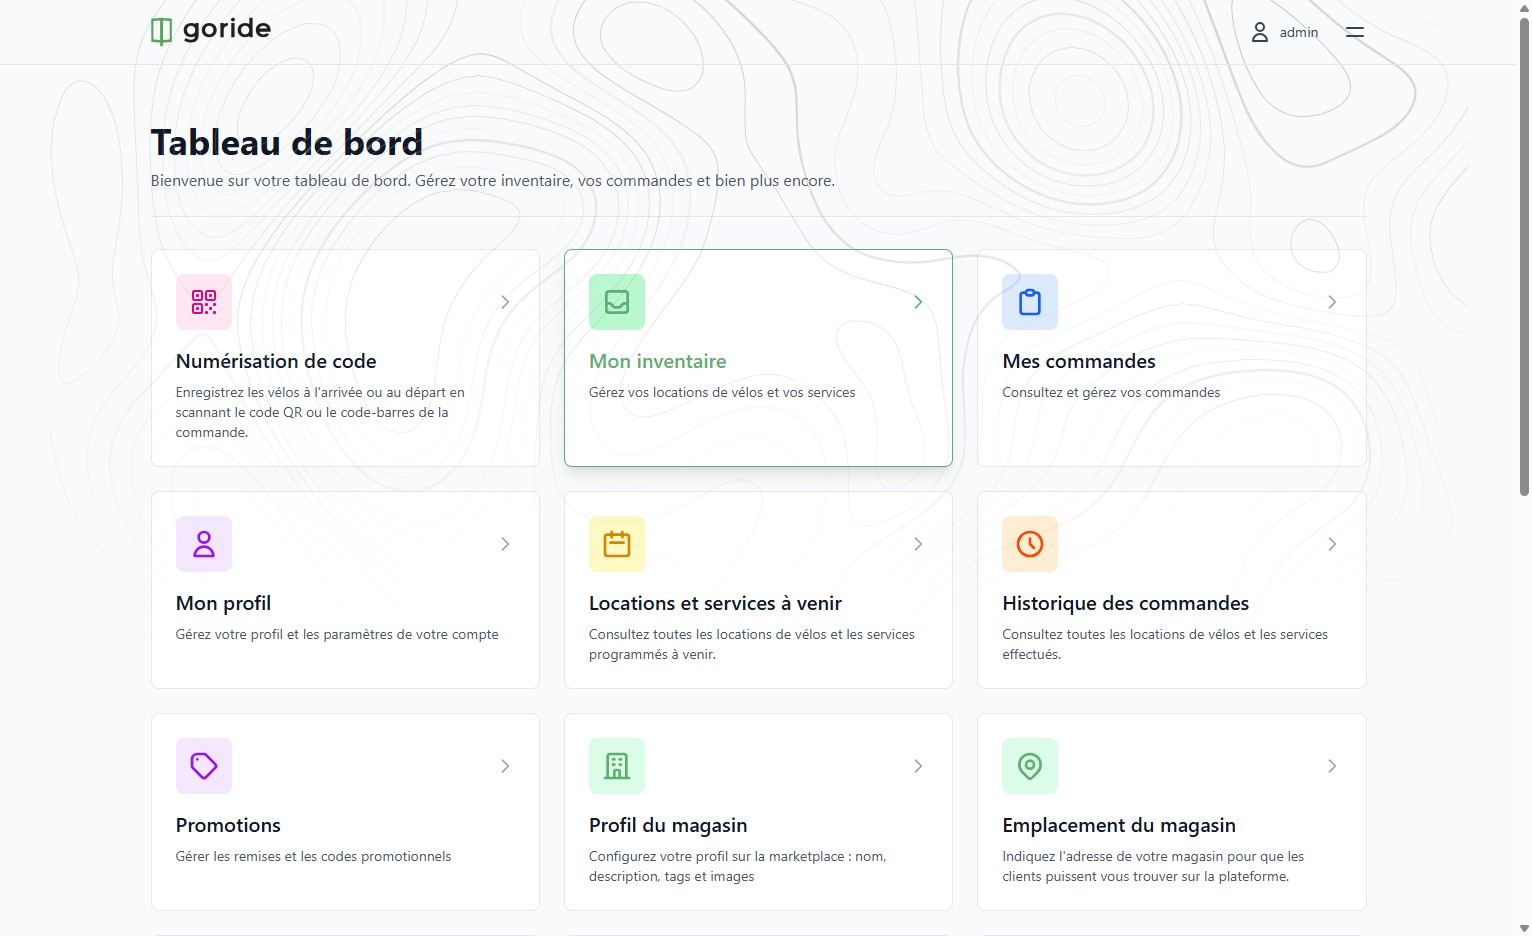
Step 2 — Open Your Inventory
Click "Mon inventaire" to access your product listings.
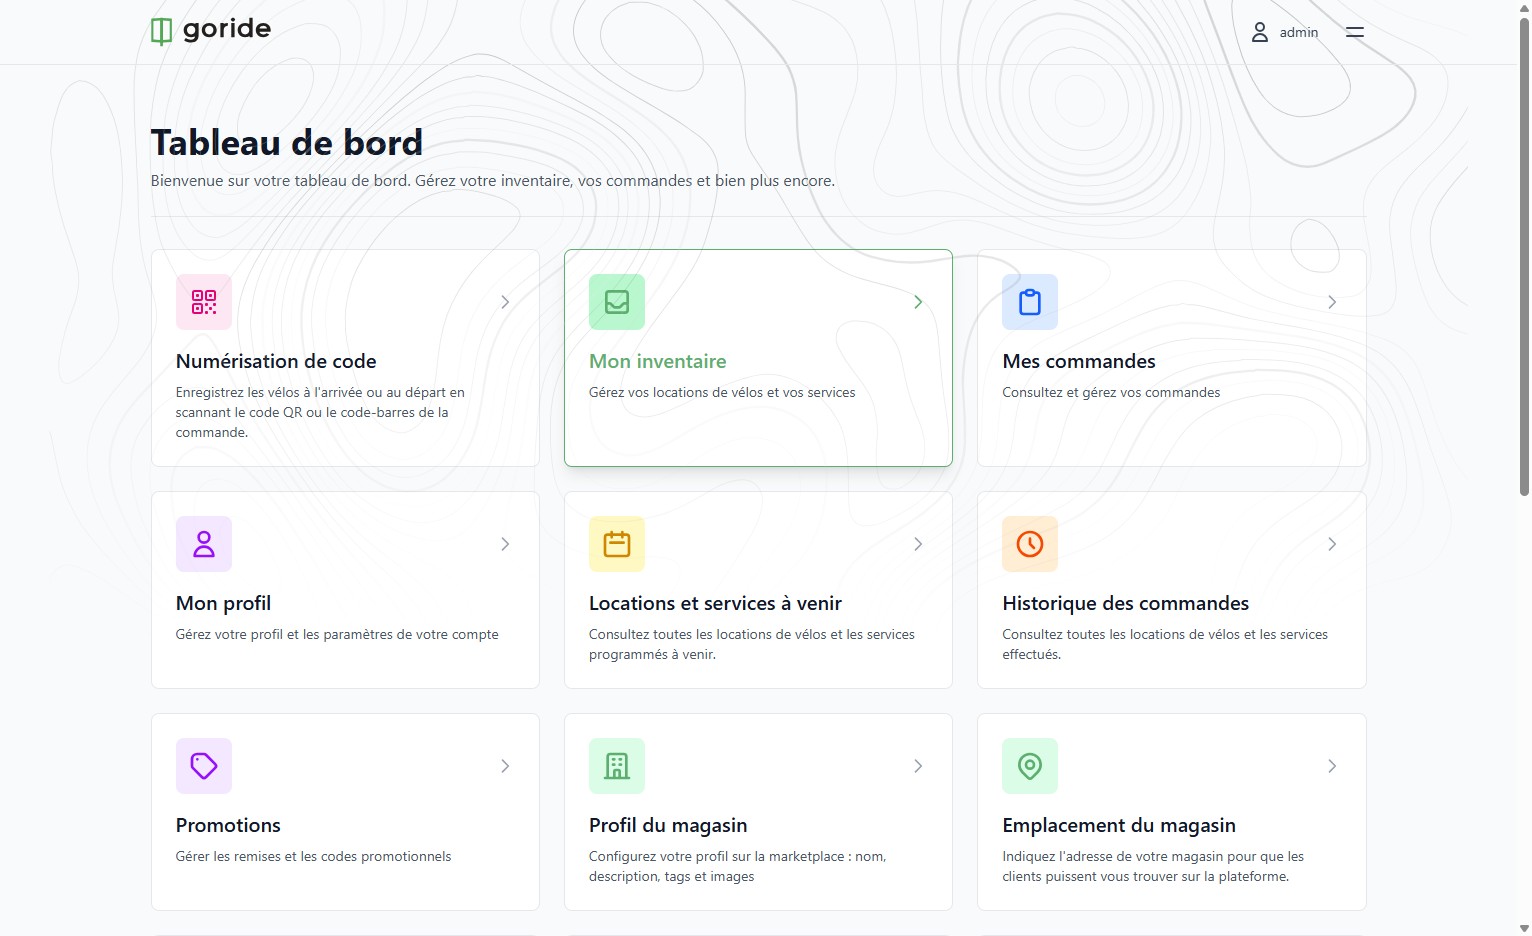
Step 3 — Create a New Accessory
Click "Créer un nouveau" and select "Accessoire" from the dropdown.
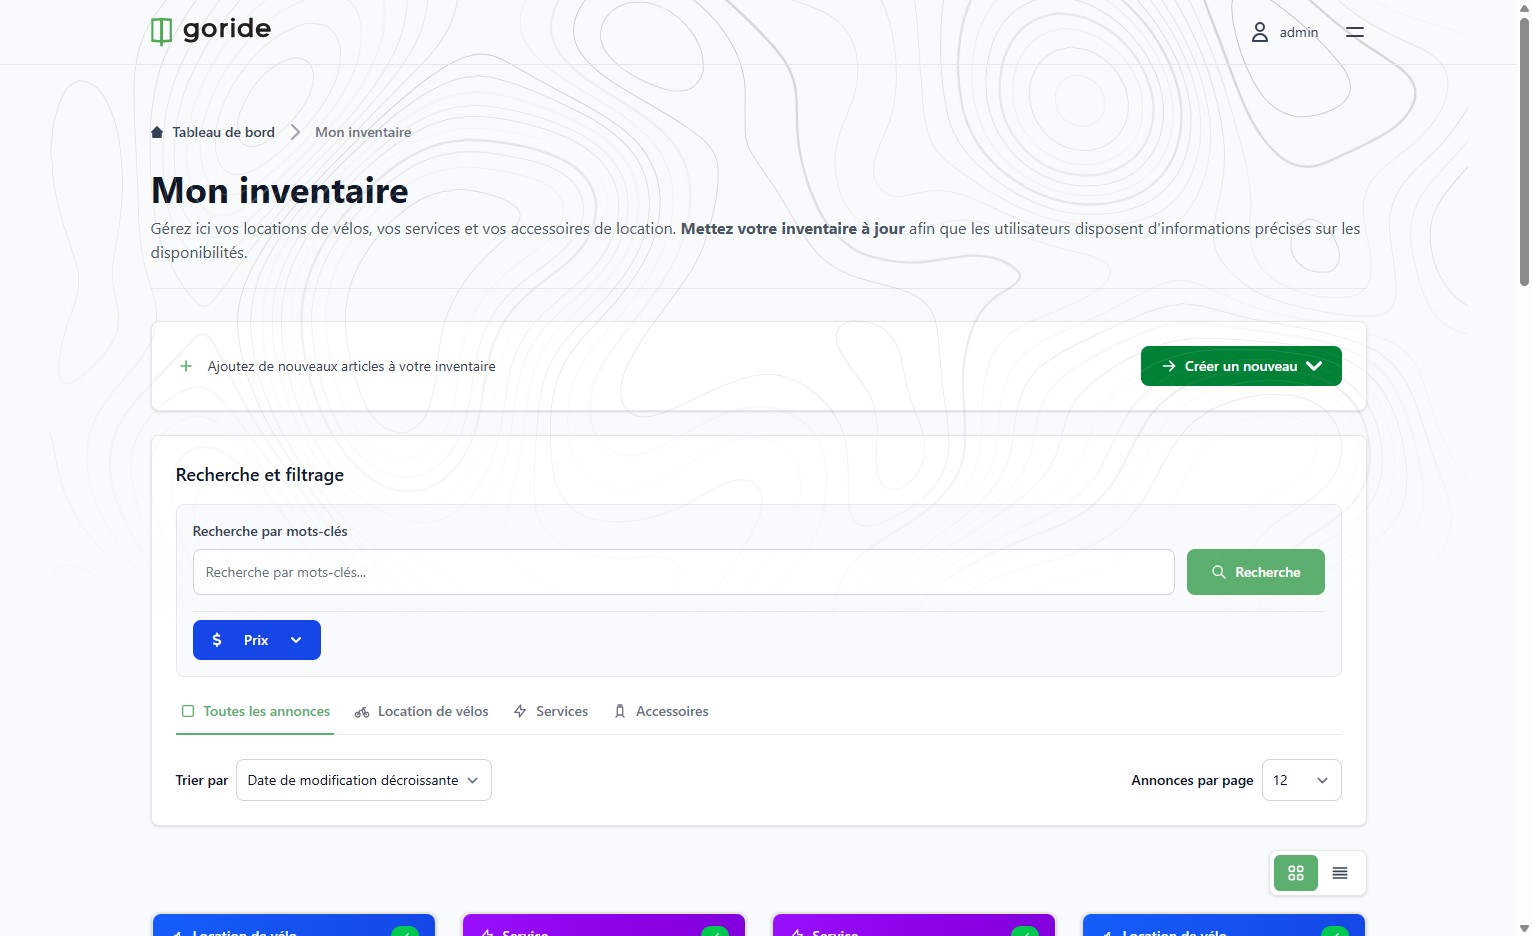
Step 4 — Enter the Product Title, Brand, and Category
Type in the product title in both FR and EN, then enter the Brand and Model. Choose a category from the dropdown if applicable.
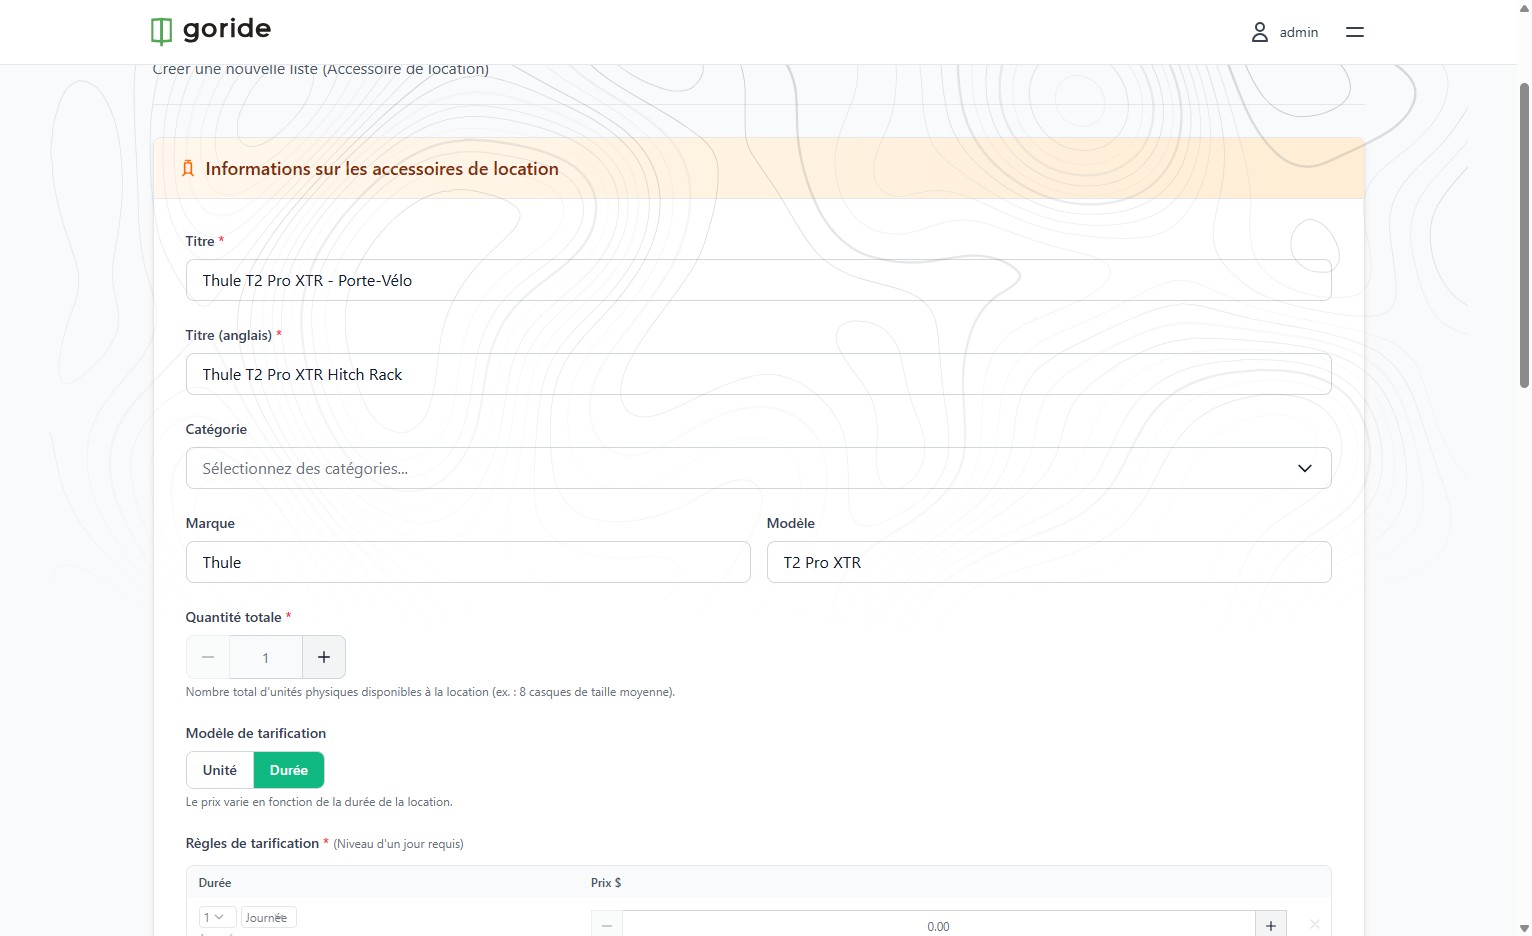
Step 5 — Set Your Pricing Scheme
Enter your pricing details, including rental rates and any applicable supplements.
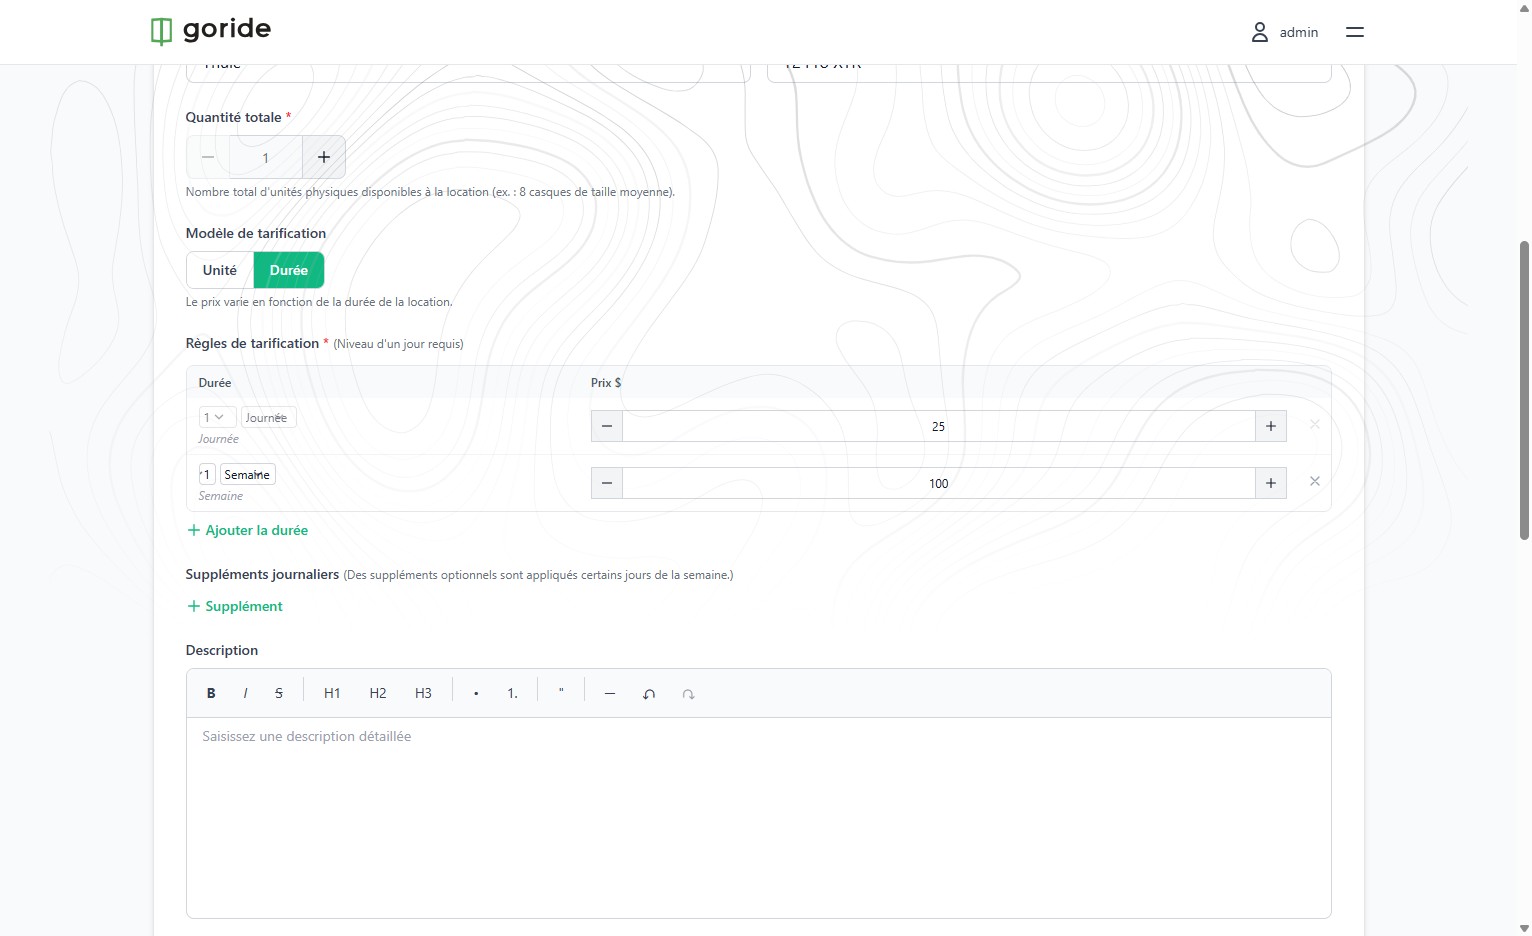
Step 6 — Add a Product Description
Type in a product description in both FR and EN.
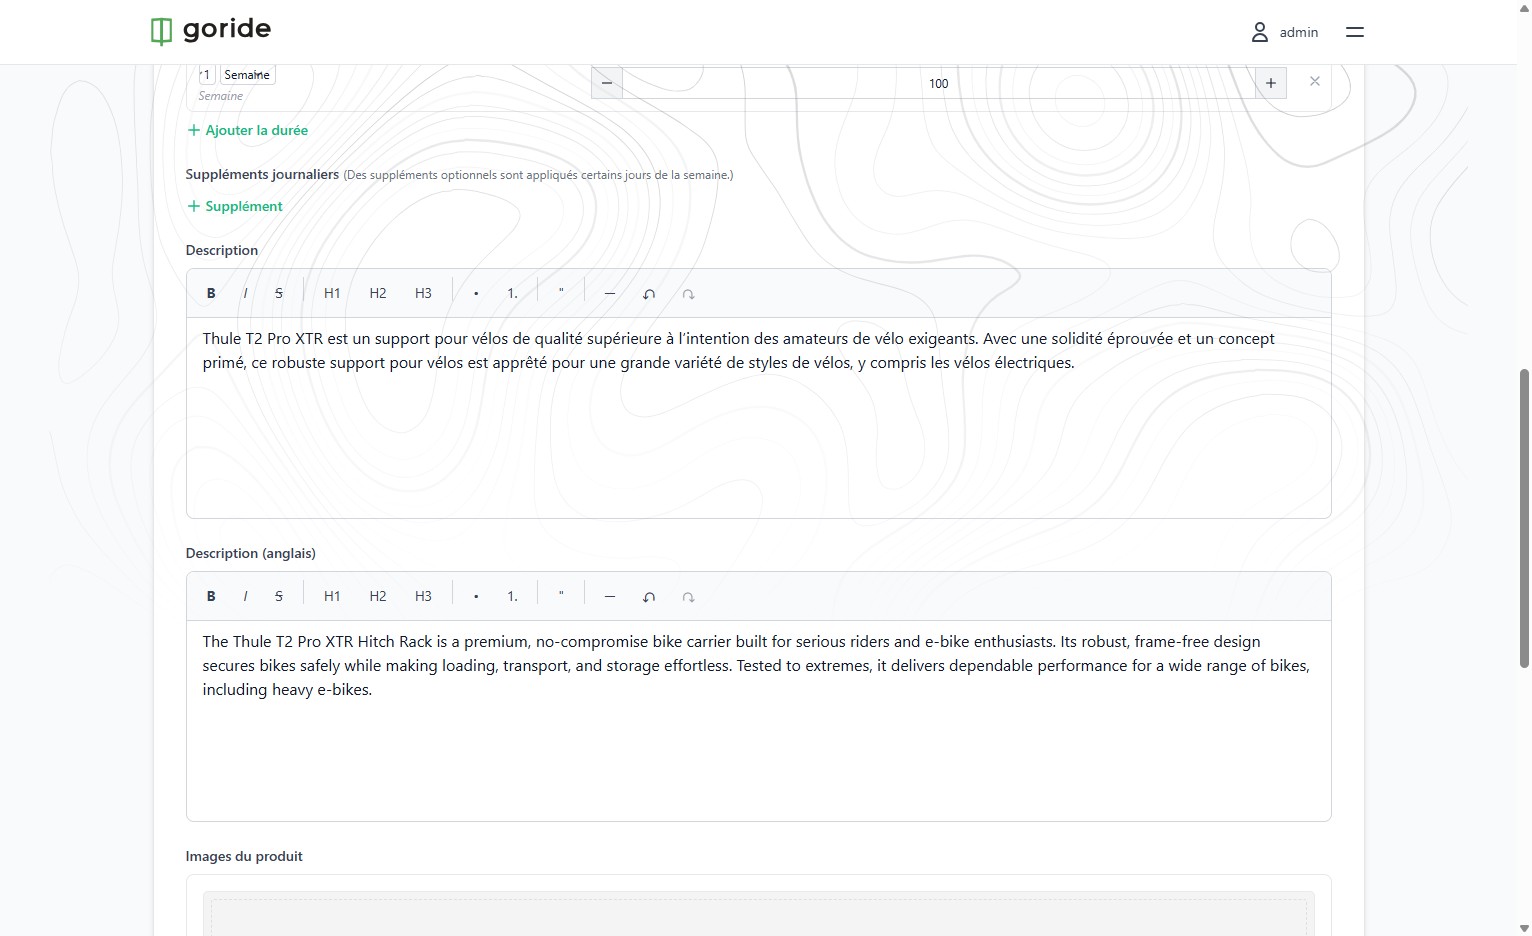
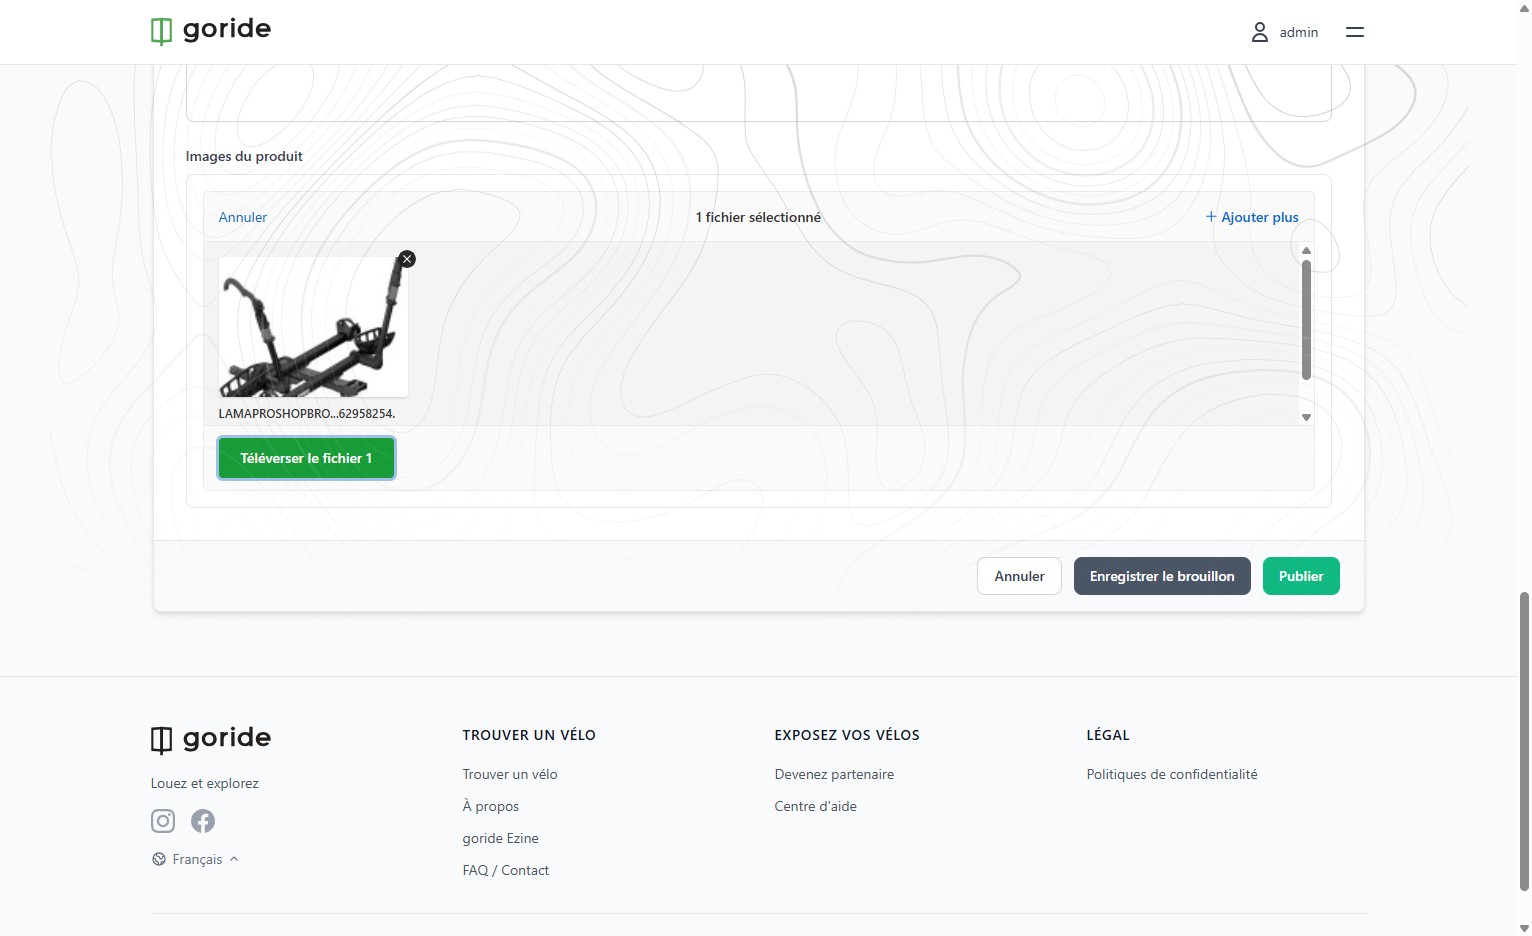
Step 7 — Upload Product Images
Browse your computer and add product images using the image upload area.
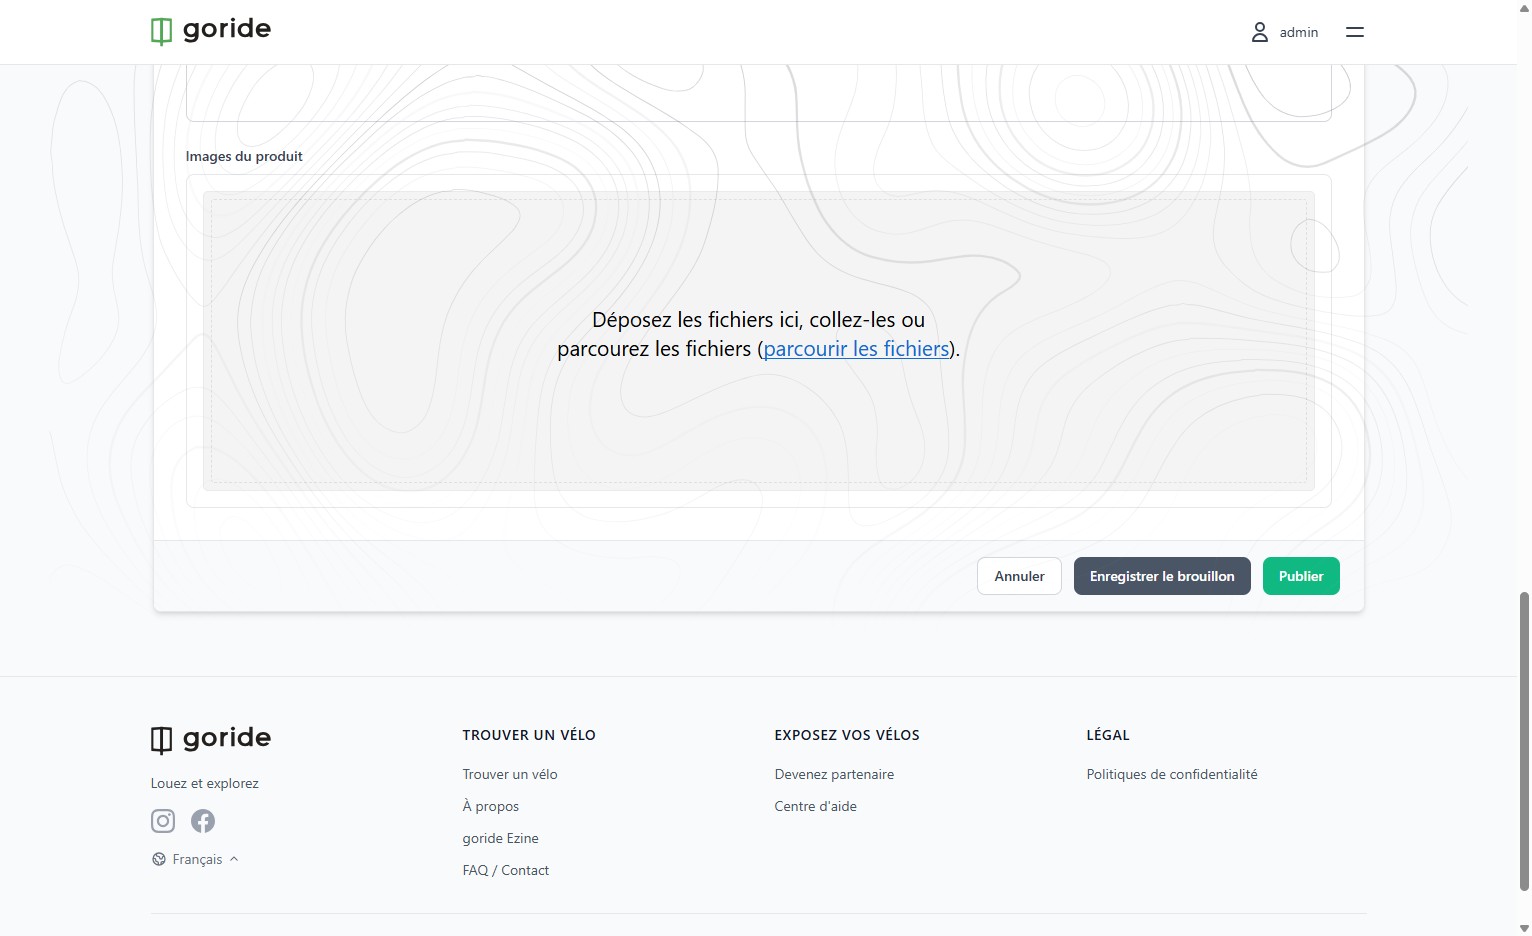
Step 8 — Confirm the Upload
Important: click "Téléverser" to complete the image upload — your images will not be saved without this step.
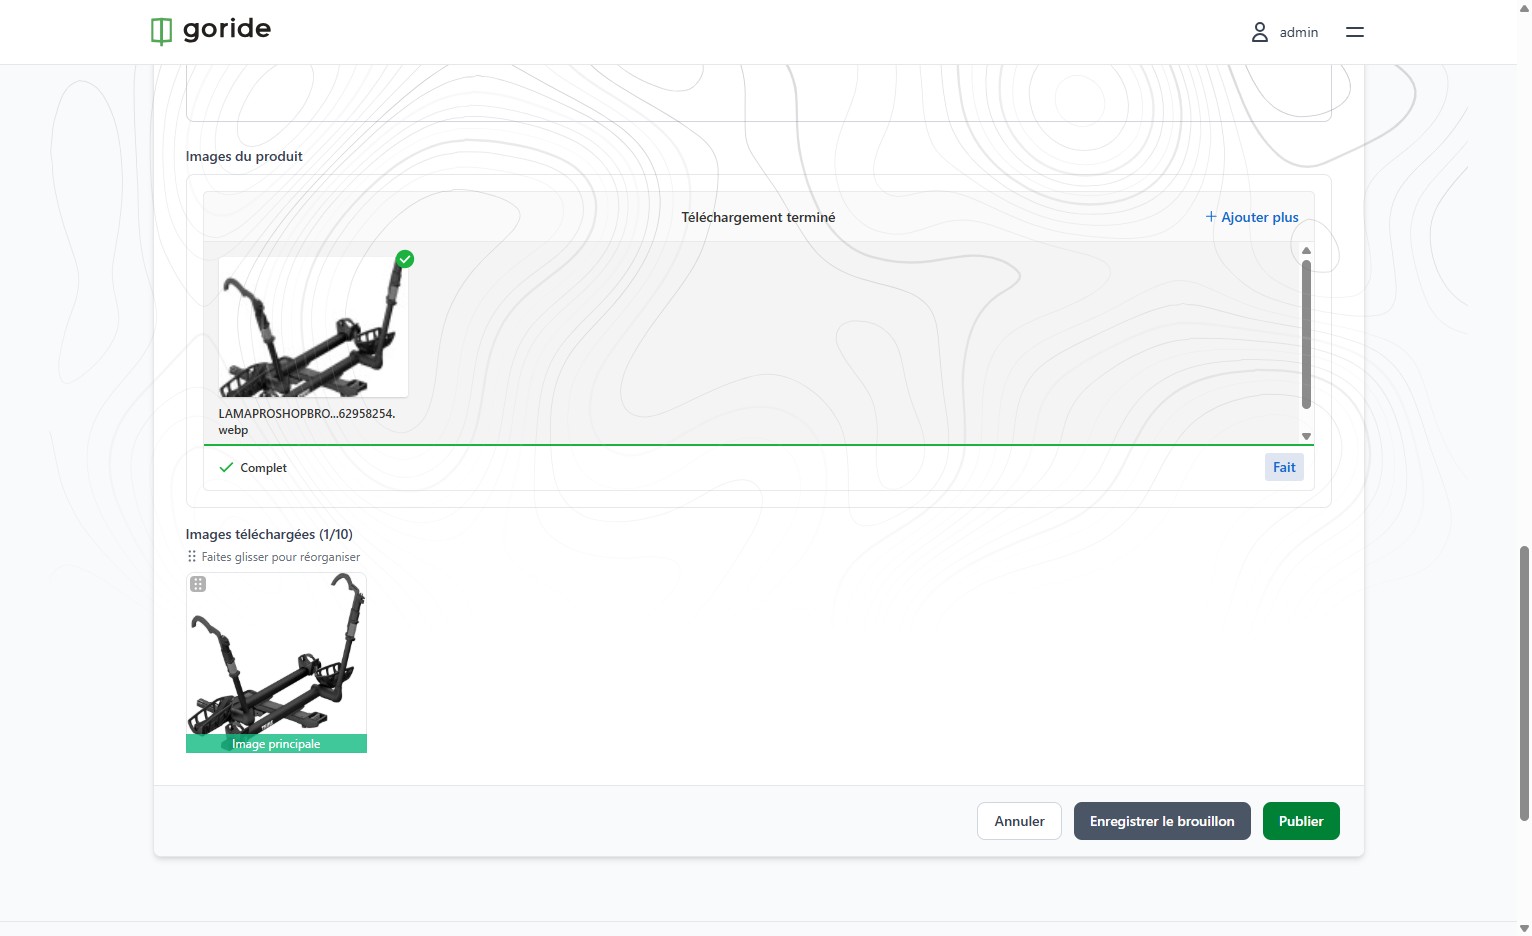
Step 9 — Publish the Accessory
Click "Publier" to make the accessory live on your shop.
Accessory Live on Your Shop
Your new accessory is now visible on your shop's online store and available for customers to book.